Thank you for purchasing the 2023 vSeeBox V2 Pro! Let’s walk through the setup process:
What’s Inside the vSeeBox V2 Pro Package:

- vSeeBox V2 Pro – 1 unit
- Bluetooth Remote Control – 1 unit
- Wi-Fi Antenna – 1 unit
- HDMI 2.0 Cable – 1 unit
- Power Adapter – 1 unit
- User Manual – 1 unit
Basic Setup
- Connect the V2 Pro to the power adapter.
- Use the provided HDMI cable to connect the V2 Pro to your TV or monitor, or use an AV cable if you prefer.
- Attach the Wi-Fi antenna to the back of the V2 Pro.
- Insert two AAA batteries into the Bluetooth remote.
- (Optional) Connect an Ethernet cable for a hardwired network connection.
Now, let’s complete the setup using the initial-setup wizard:
1. Wait for the initialization to complete.
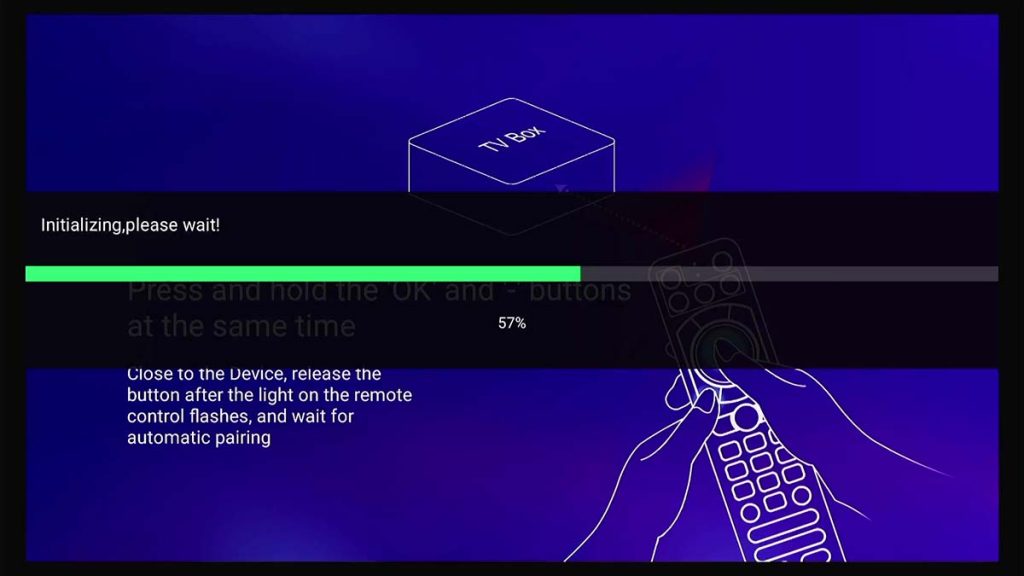
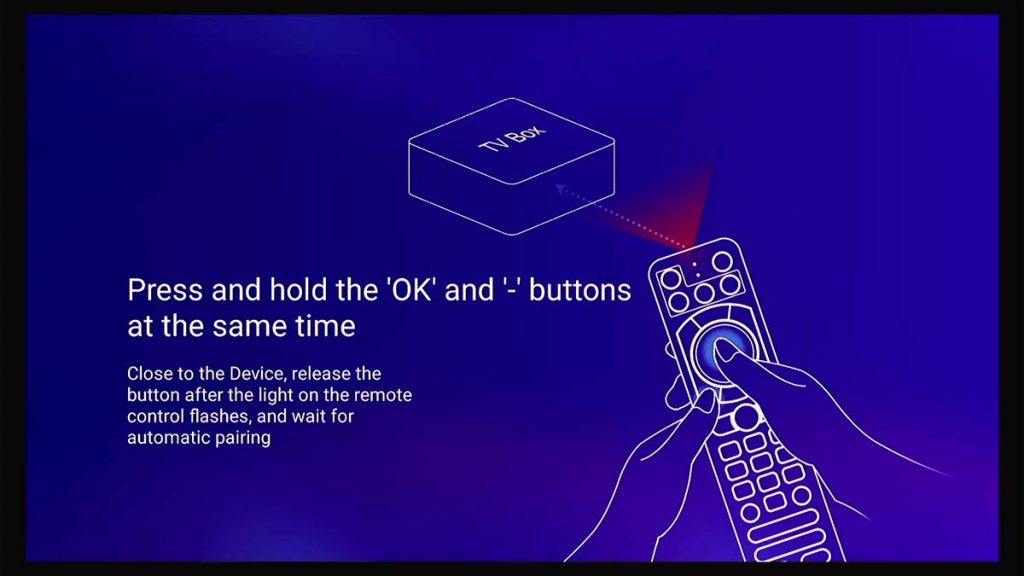
2. Pair the Bluetooth Remote: Hold both [OK] and [VOL-] buttons until the red light on the remote flashes. When successfully paired, you’ll see “Remote control connected successfully” and be automatically directed to the next step.

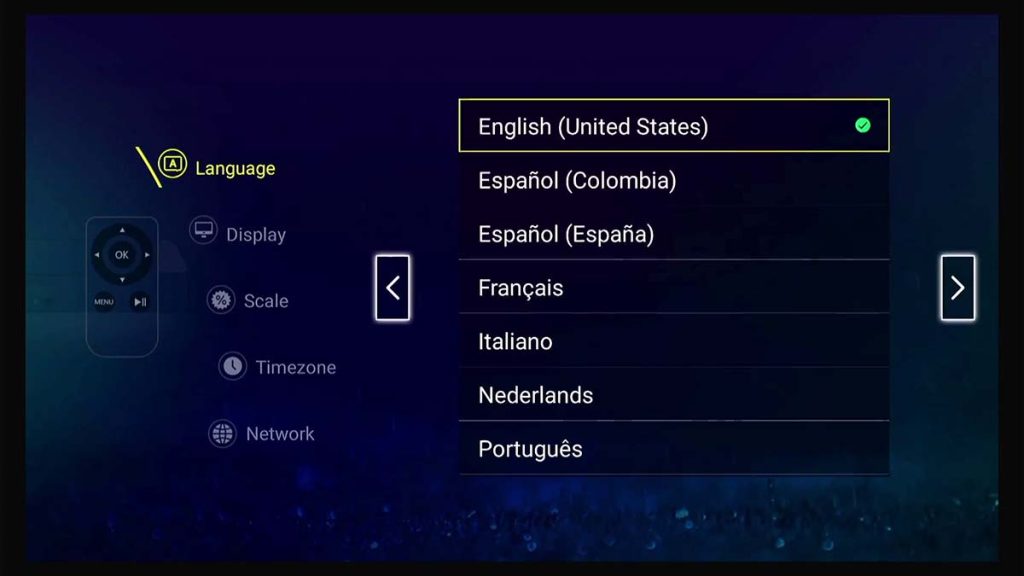
3. Select your language, then press [Right Arrow] to continue.
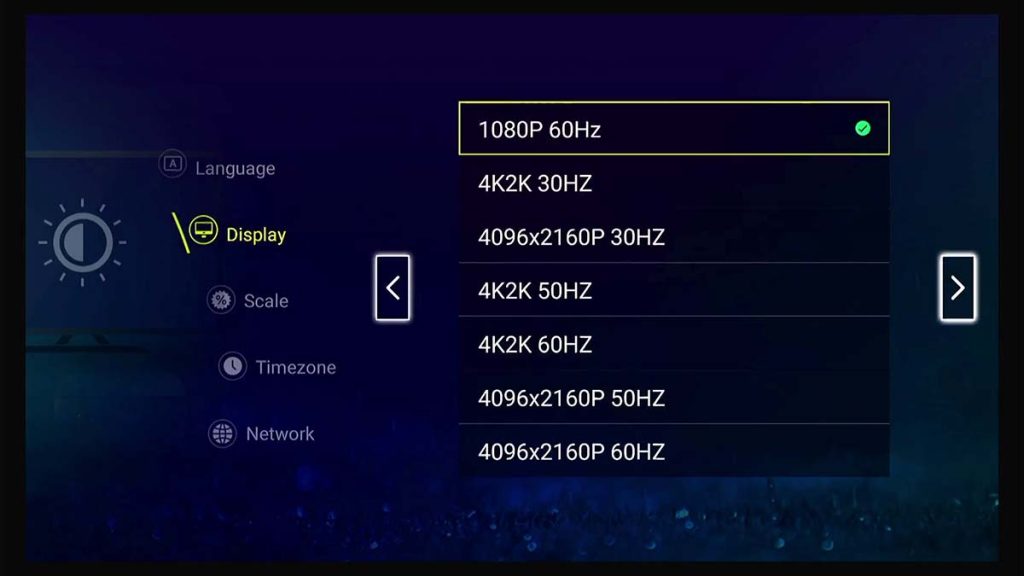
4. Choose your display options, then press [Right Arrow] to proceed. (For HZ options, generally, a higher refresh rate provides a smoother viewing experience.)
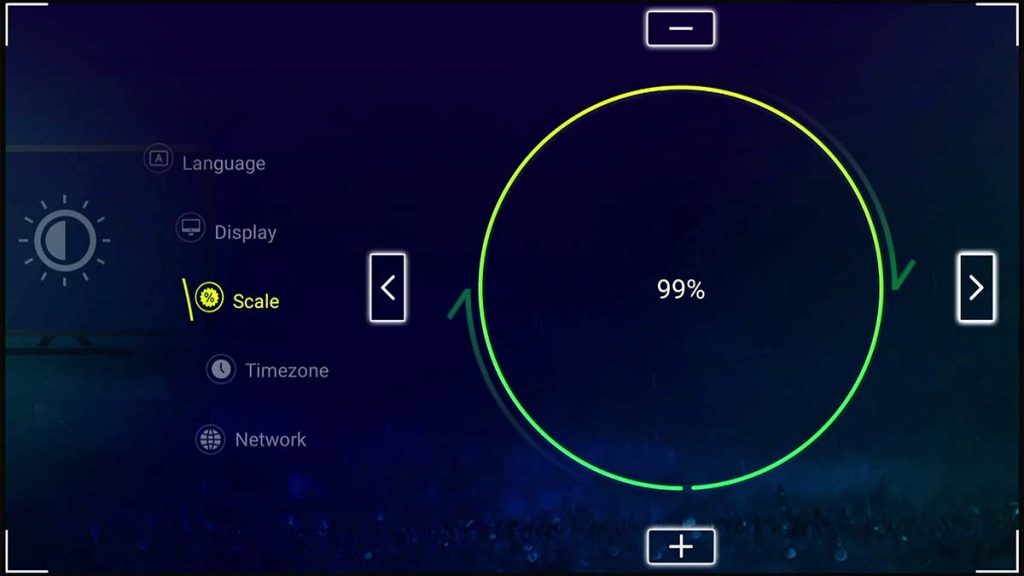
5. Adjust the screen ratio, then press [Right Arrow] to continue.
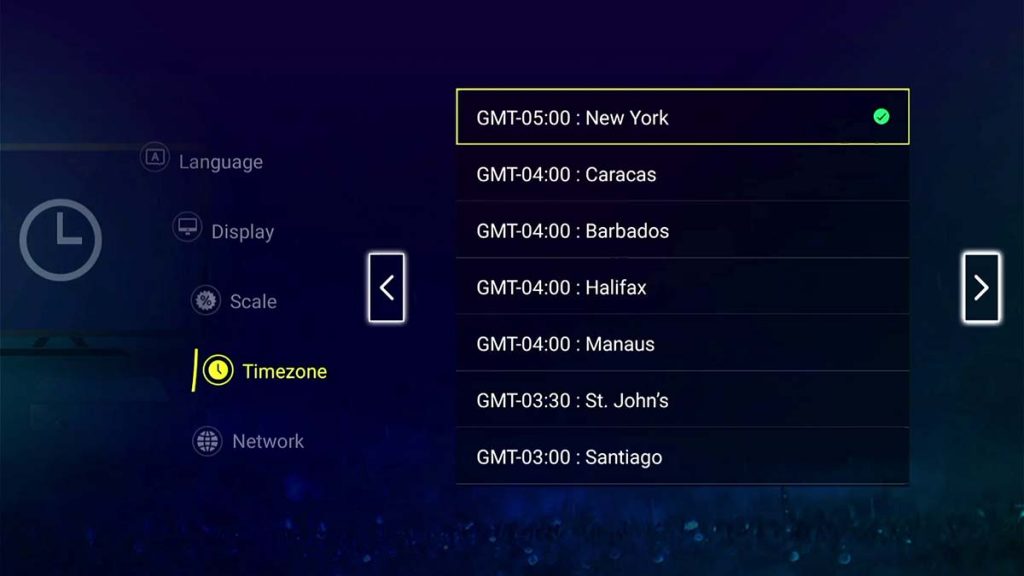
6. Select your time zone, then press [Right Arrow] to move on.
7. Connect to the network via Ethernet or Wi-Fi:
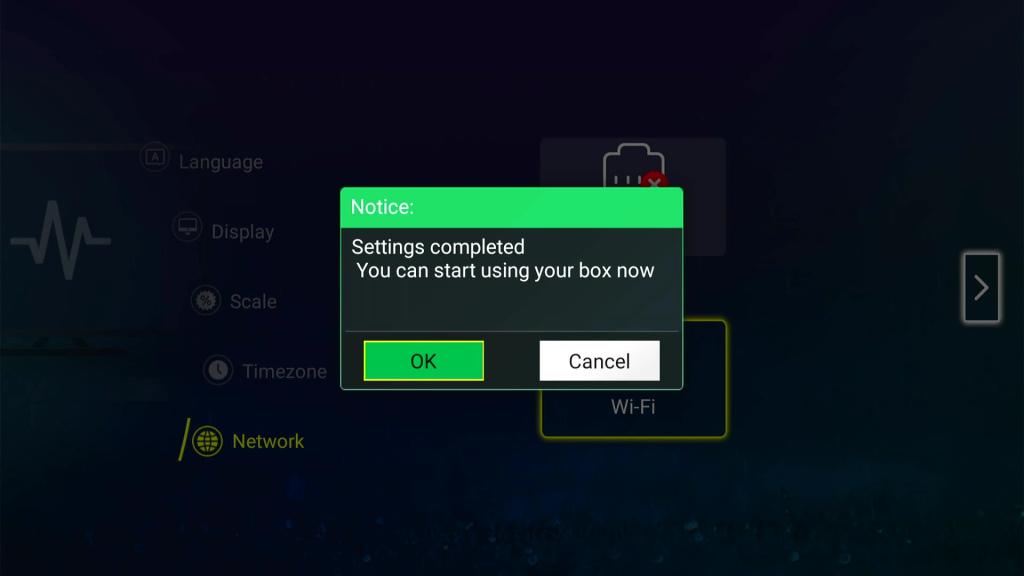
Ethernet: Connect the box to your router with an Ethernet cable. Once connected, the [x] will disappear from the Ethernet option. Press [Right Arrow] to finish setup.

Wi-Fi: Select the Wi-Fi option by pressing [OK], then choose your network and enter the password.
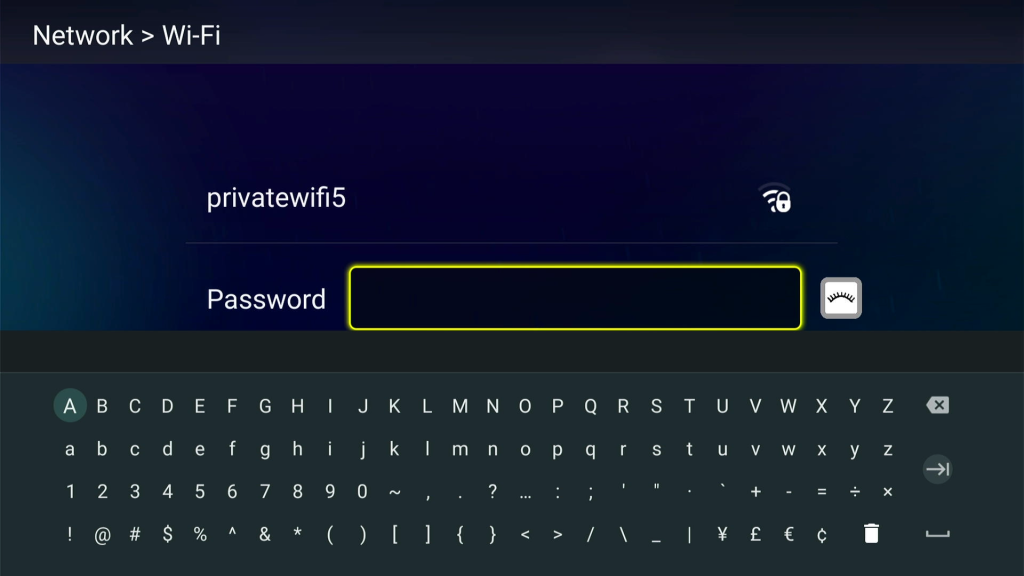
If the password is correct, it will show “Connected.” If it says “Remembered,” the password is incorrect; please forget the network and re-enter the correct password.
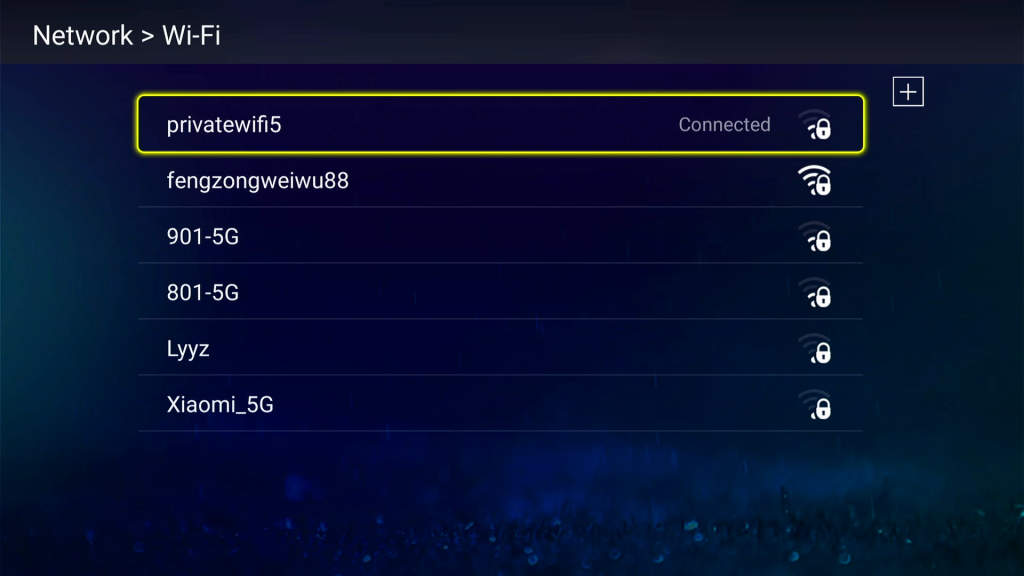
Once connected, press [Back] to return to the network setup screen and confirm the [x] next to the Wi-Fi icon has disappeared. Then, press [Right Arrow] to finish the setup.
Heat Live and Heat VOD setup
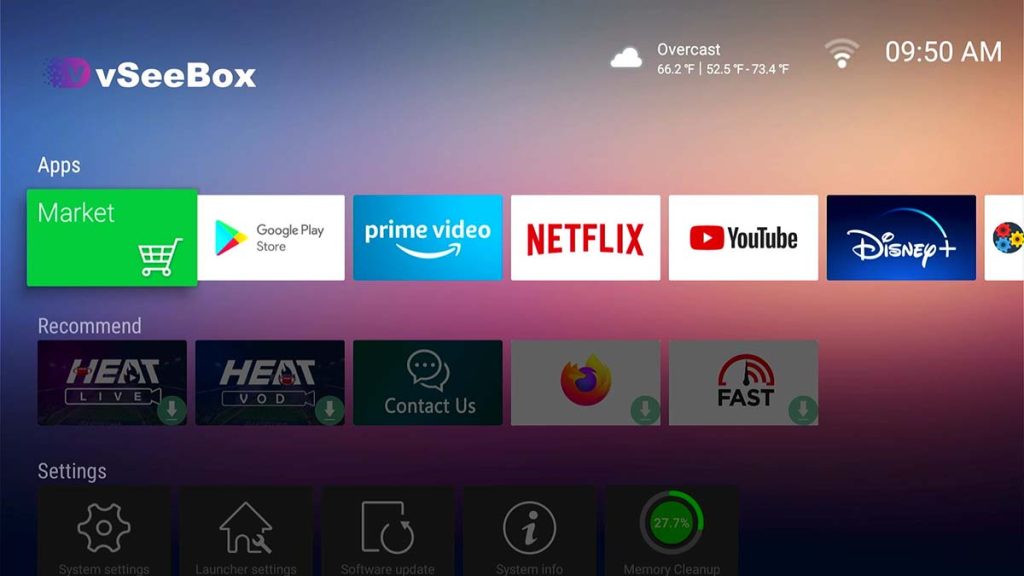
After completing the initial setup, you’ll be directed to the Home Screen.
If your network is connected successfully, the Heat Live App and Heat VOD App will automatically appear on the Home Screen.
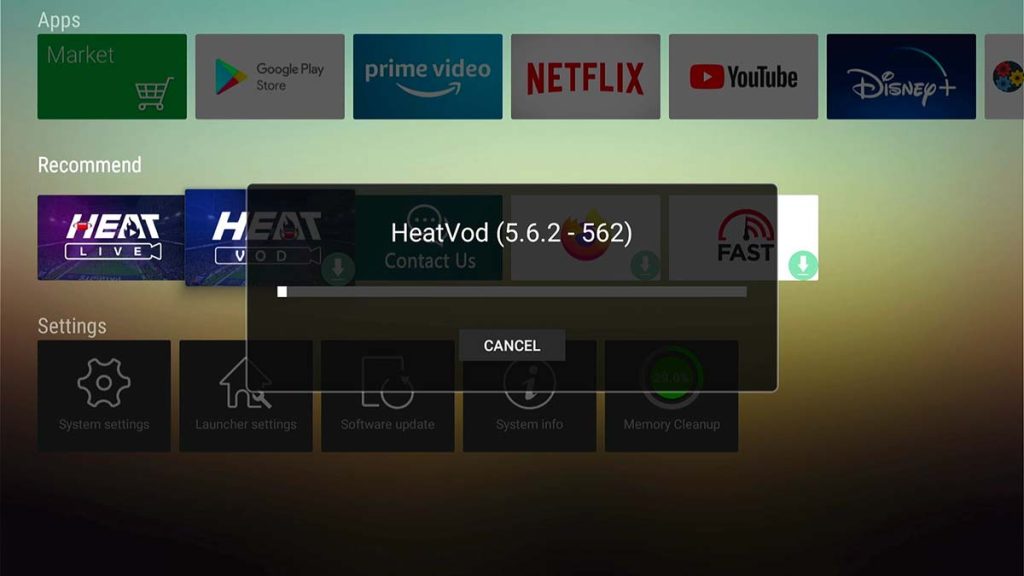
Click on the Heat Live App to install it. Once the download is complete, it will open automatically.

Repeat the same process for the Heat VOD App.
Voice Control Feature
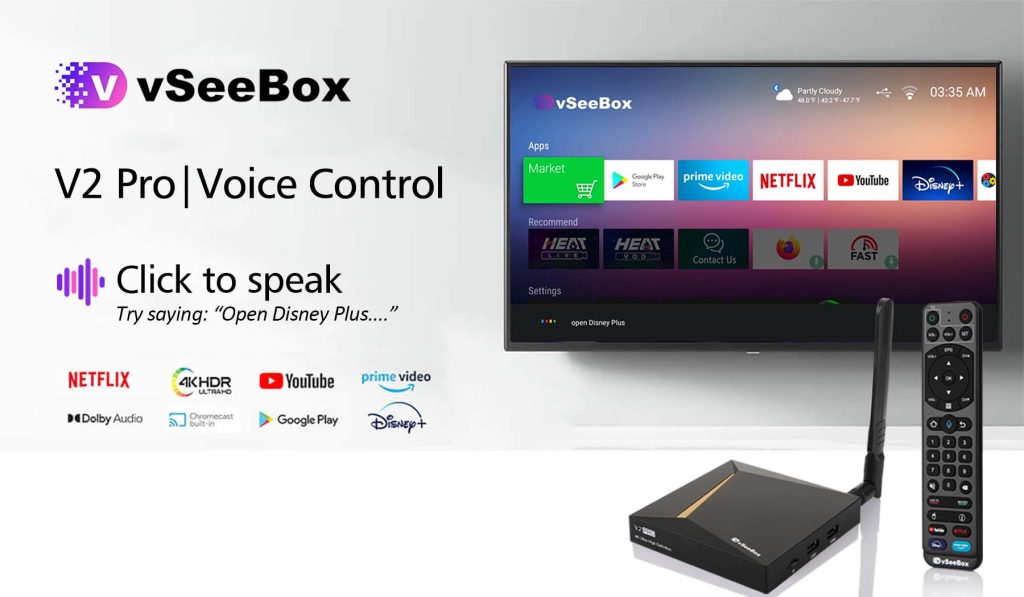
The vSeeBox V2 Pro supports voice control with Google Assistant compatibility. Here’s how to make the most of it:
Ensure your Bluetooth remote is connected to the TV box. You can check this under Home Screen settings > System settings > Bluetooth. If your remote is paired, it will show “vSeeBox Remoter” connected in the paired devices section.
If the remote is not paired, pressing the “Voice command” button will bring up a pairing screen. To pair the remote, hold both [OK] and [VOL-] buttons until the red light flashes on the remote. Once paired, it will show “Remote control connected successfully” and return you to the previous screen.
Since the voice control feature is compatible with Google Assistant, we recommend logging into your Google account to access the full range of features.
You can now use voice commands to control Heat Live and Heat VOD:
- Heat Live: To open, say “Watch TV,” “Live TV,” “TV,” or “Heat Live.” For specific channels, you can say “ESPN,” “Los Angeles,” or “New York.”
- Heat VOD: To open, say “Movies,” “TV Series,” “TV Shows,” or “Heat VOD.” To search for specific titles, say “Top Gun” or “Yellowstone.”
- Heat VOD Ultra: To search, say “Batman” or “Yellowstone.”
Troubleshooting
Voice Control – No Command Recognition (“No recognition result matched”)
If voice commands aren’t being recognized, try re-pairing the Bluetooth remote:
- Unpair: Go to Home Screen settings > System settings > Bluetooth. If the remote is paired, select “Paired device management” and unpair the “vSeeBox Remoter.”
- Pair again: Press the “Voice command” button to bring up the pairing screen. Hold [OK] and [VOL-] buttons until the red light flashes to re-pair the remote.
For the best experience, log into your Google account to fully utilize Google Assistant’s features.
If you have any other questions, feel free to contact our online customer support or email us at info@vseebox.org, and we’ll get back to you as soon as possible.
What buttons do I use to bring up the MENU?
Hi Judy,
Which Menu are you referring to and which box do you have? Are you referring to the channel lineup? If so, press the ok button. If not, perhaps you are looking for the menu that comes up when you press the button with the 3 horizontal lines.
Best of luck!